White Kitchen Cabinet Refinishing in Manhattan Beach
The homeowners wanted to preserve the kitchen’s original white appearance while restoring worn surfaces with a smoother and more durable finish.
- 1 min to read
- 29 Jul, 2026
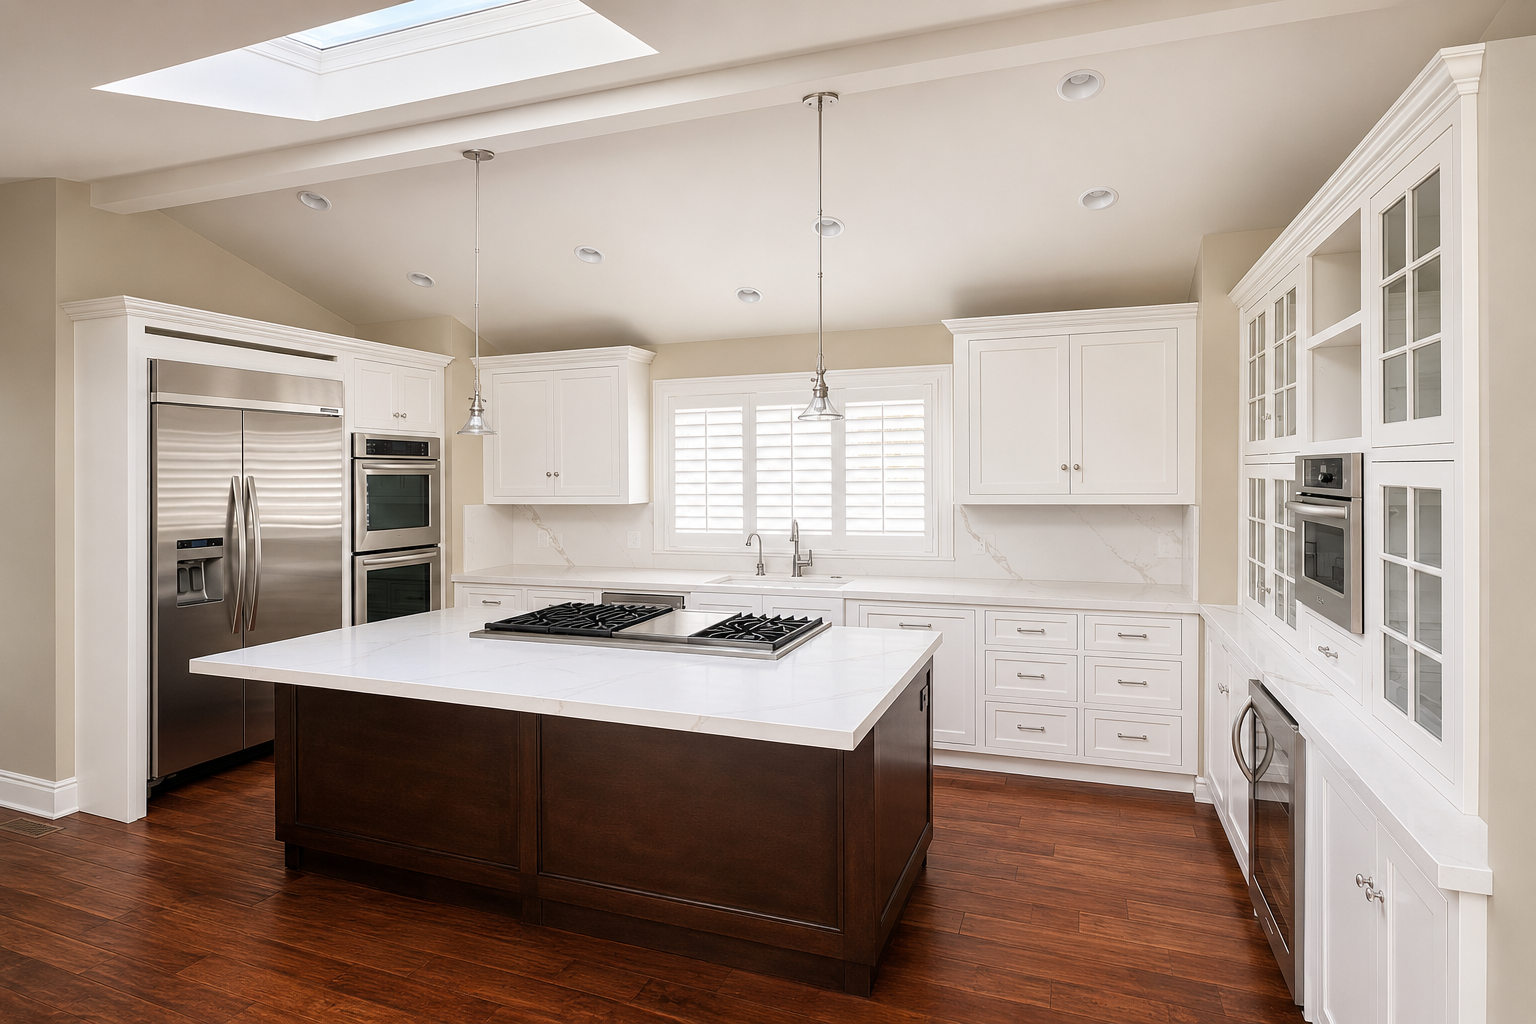

The homeowners wanted to preserve the kitchen’s original white appearance while restoring worn surfaces with a smoother and more durable finish.
The kitchen was well built and the homeowners wanted to preserve its existing white appearance. Our goal was to repair years of surface wear and create a cleaner, smoother finish without changing the original design.
White satin surfaces reveal even small imperfections, while the many glass-front doors required detailed masking of every individual pane. For durability and a factory-like appearance, we selected Sherwin-Williams Gallery Series Waterborne Topcoat in White Snow SW 9541.
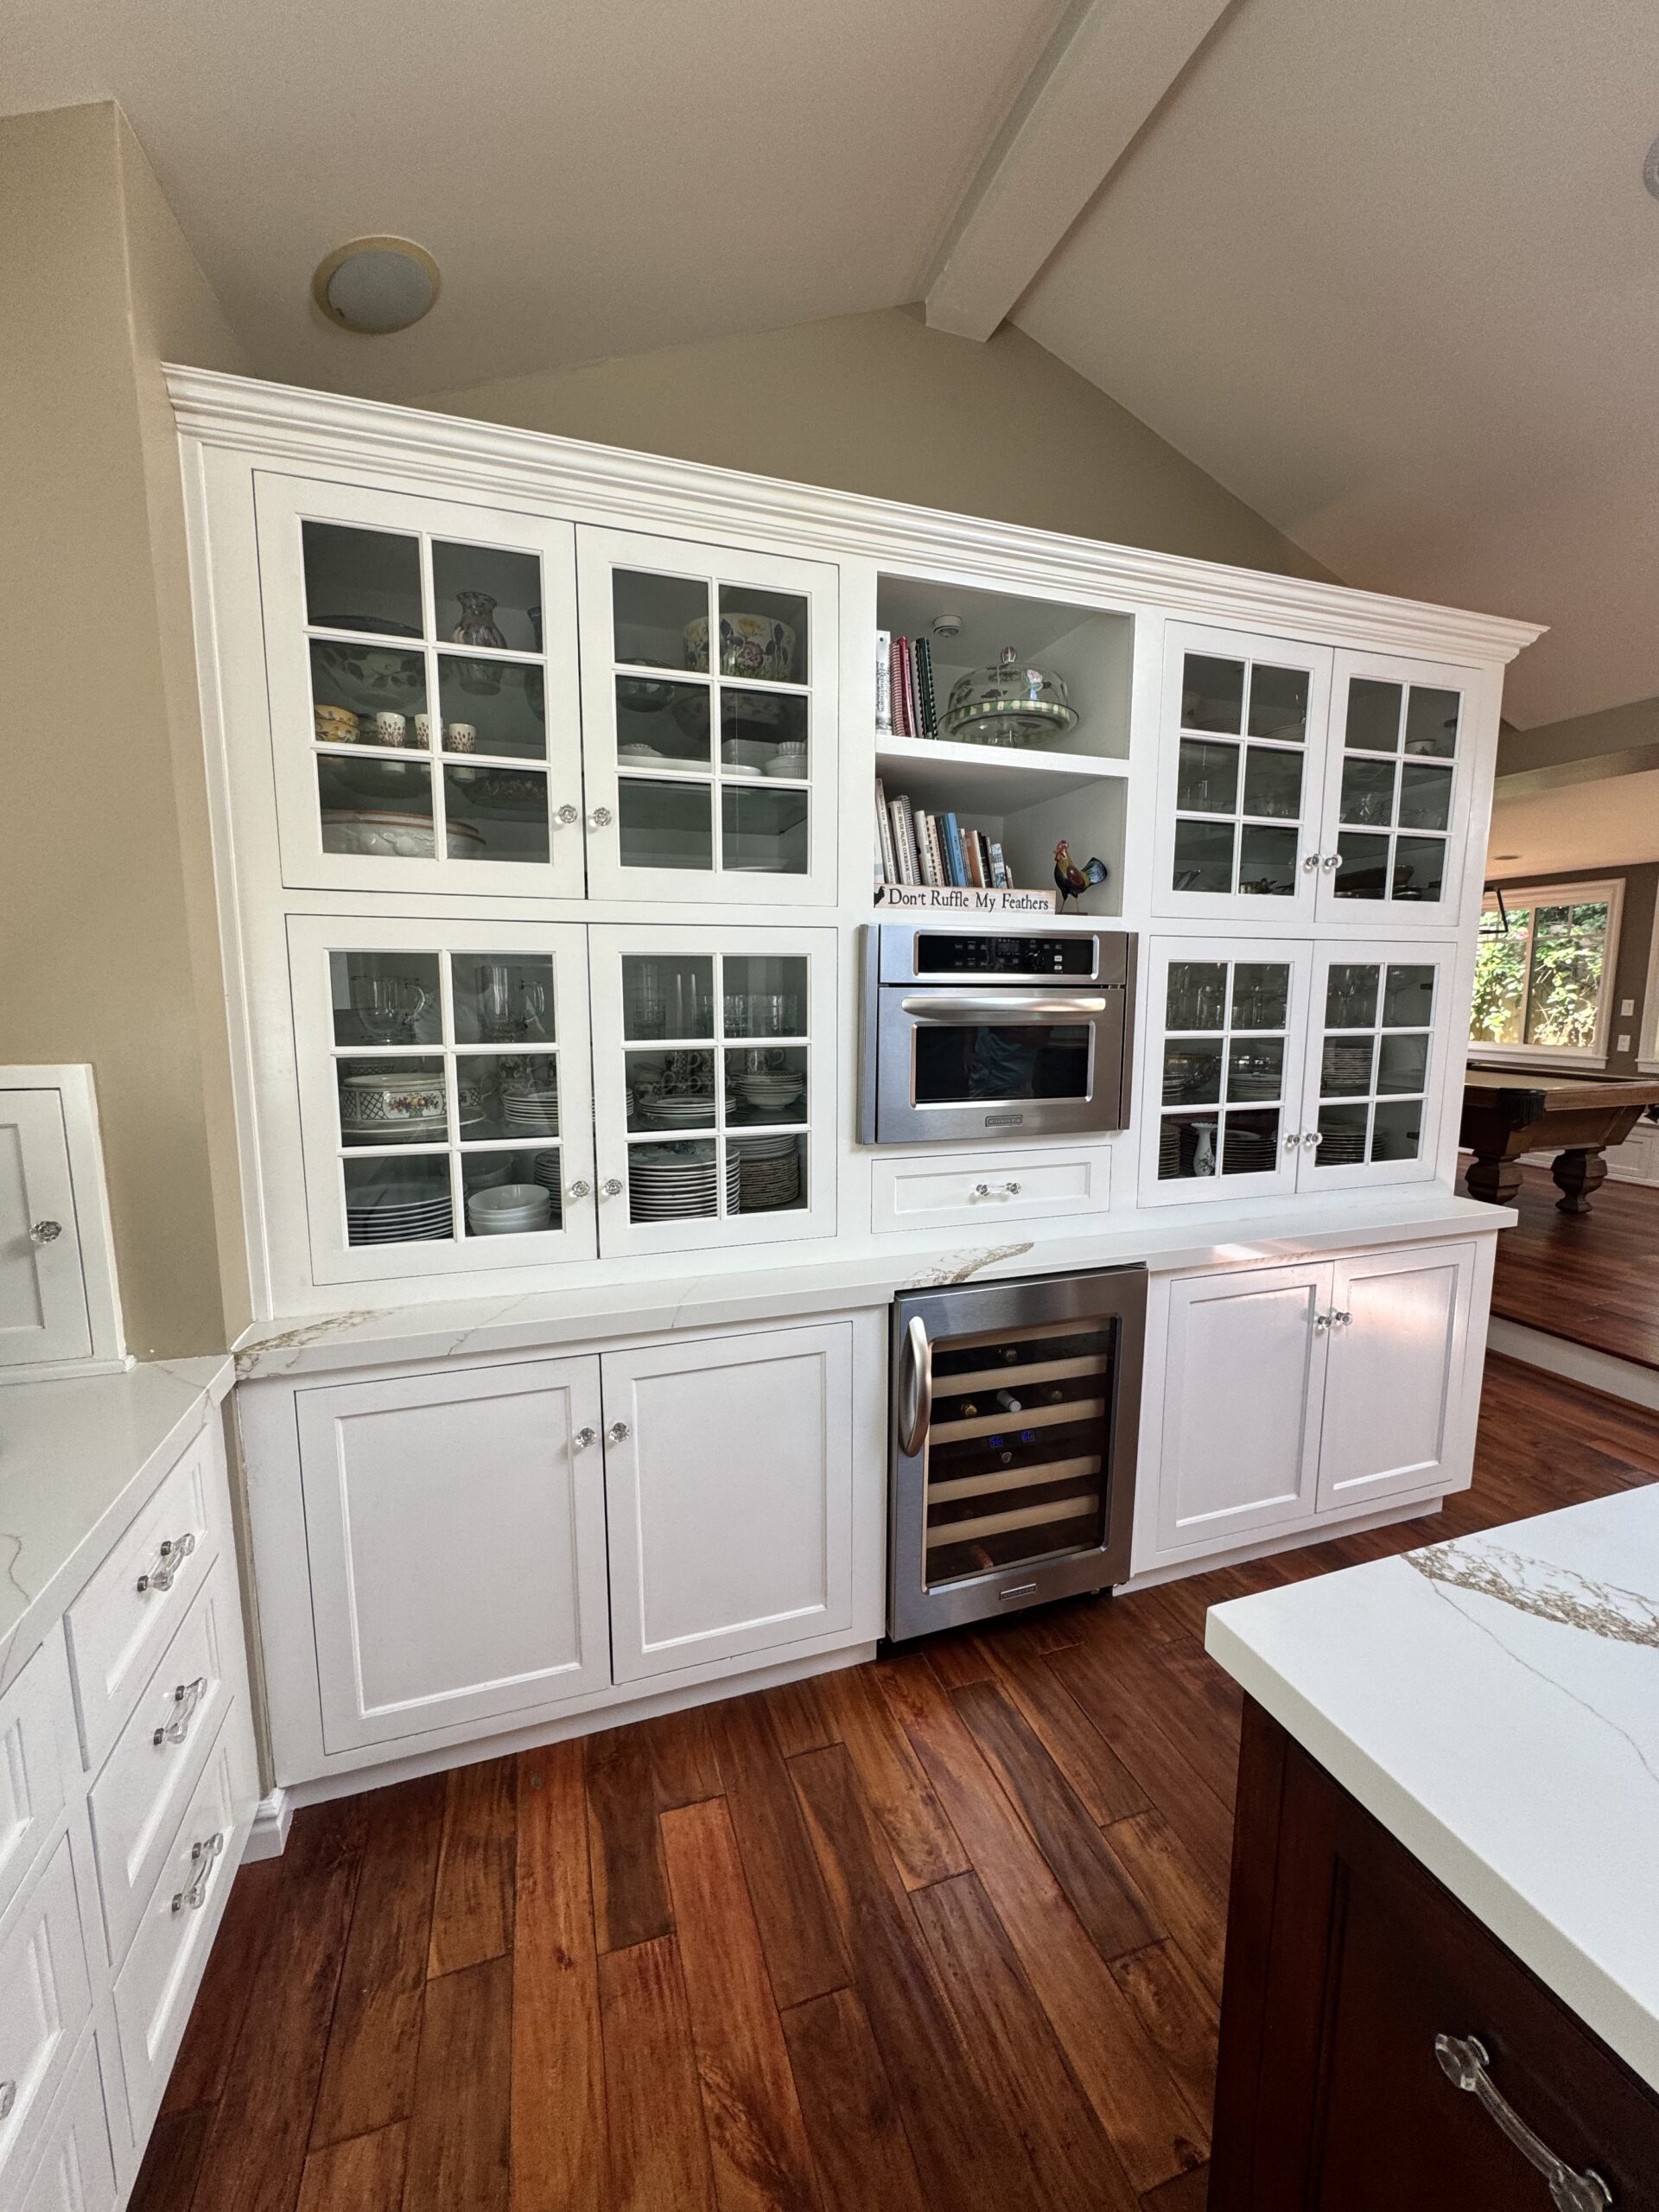
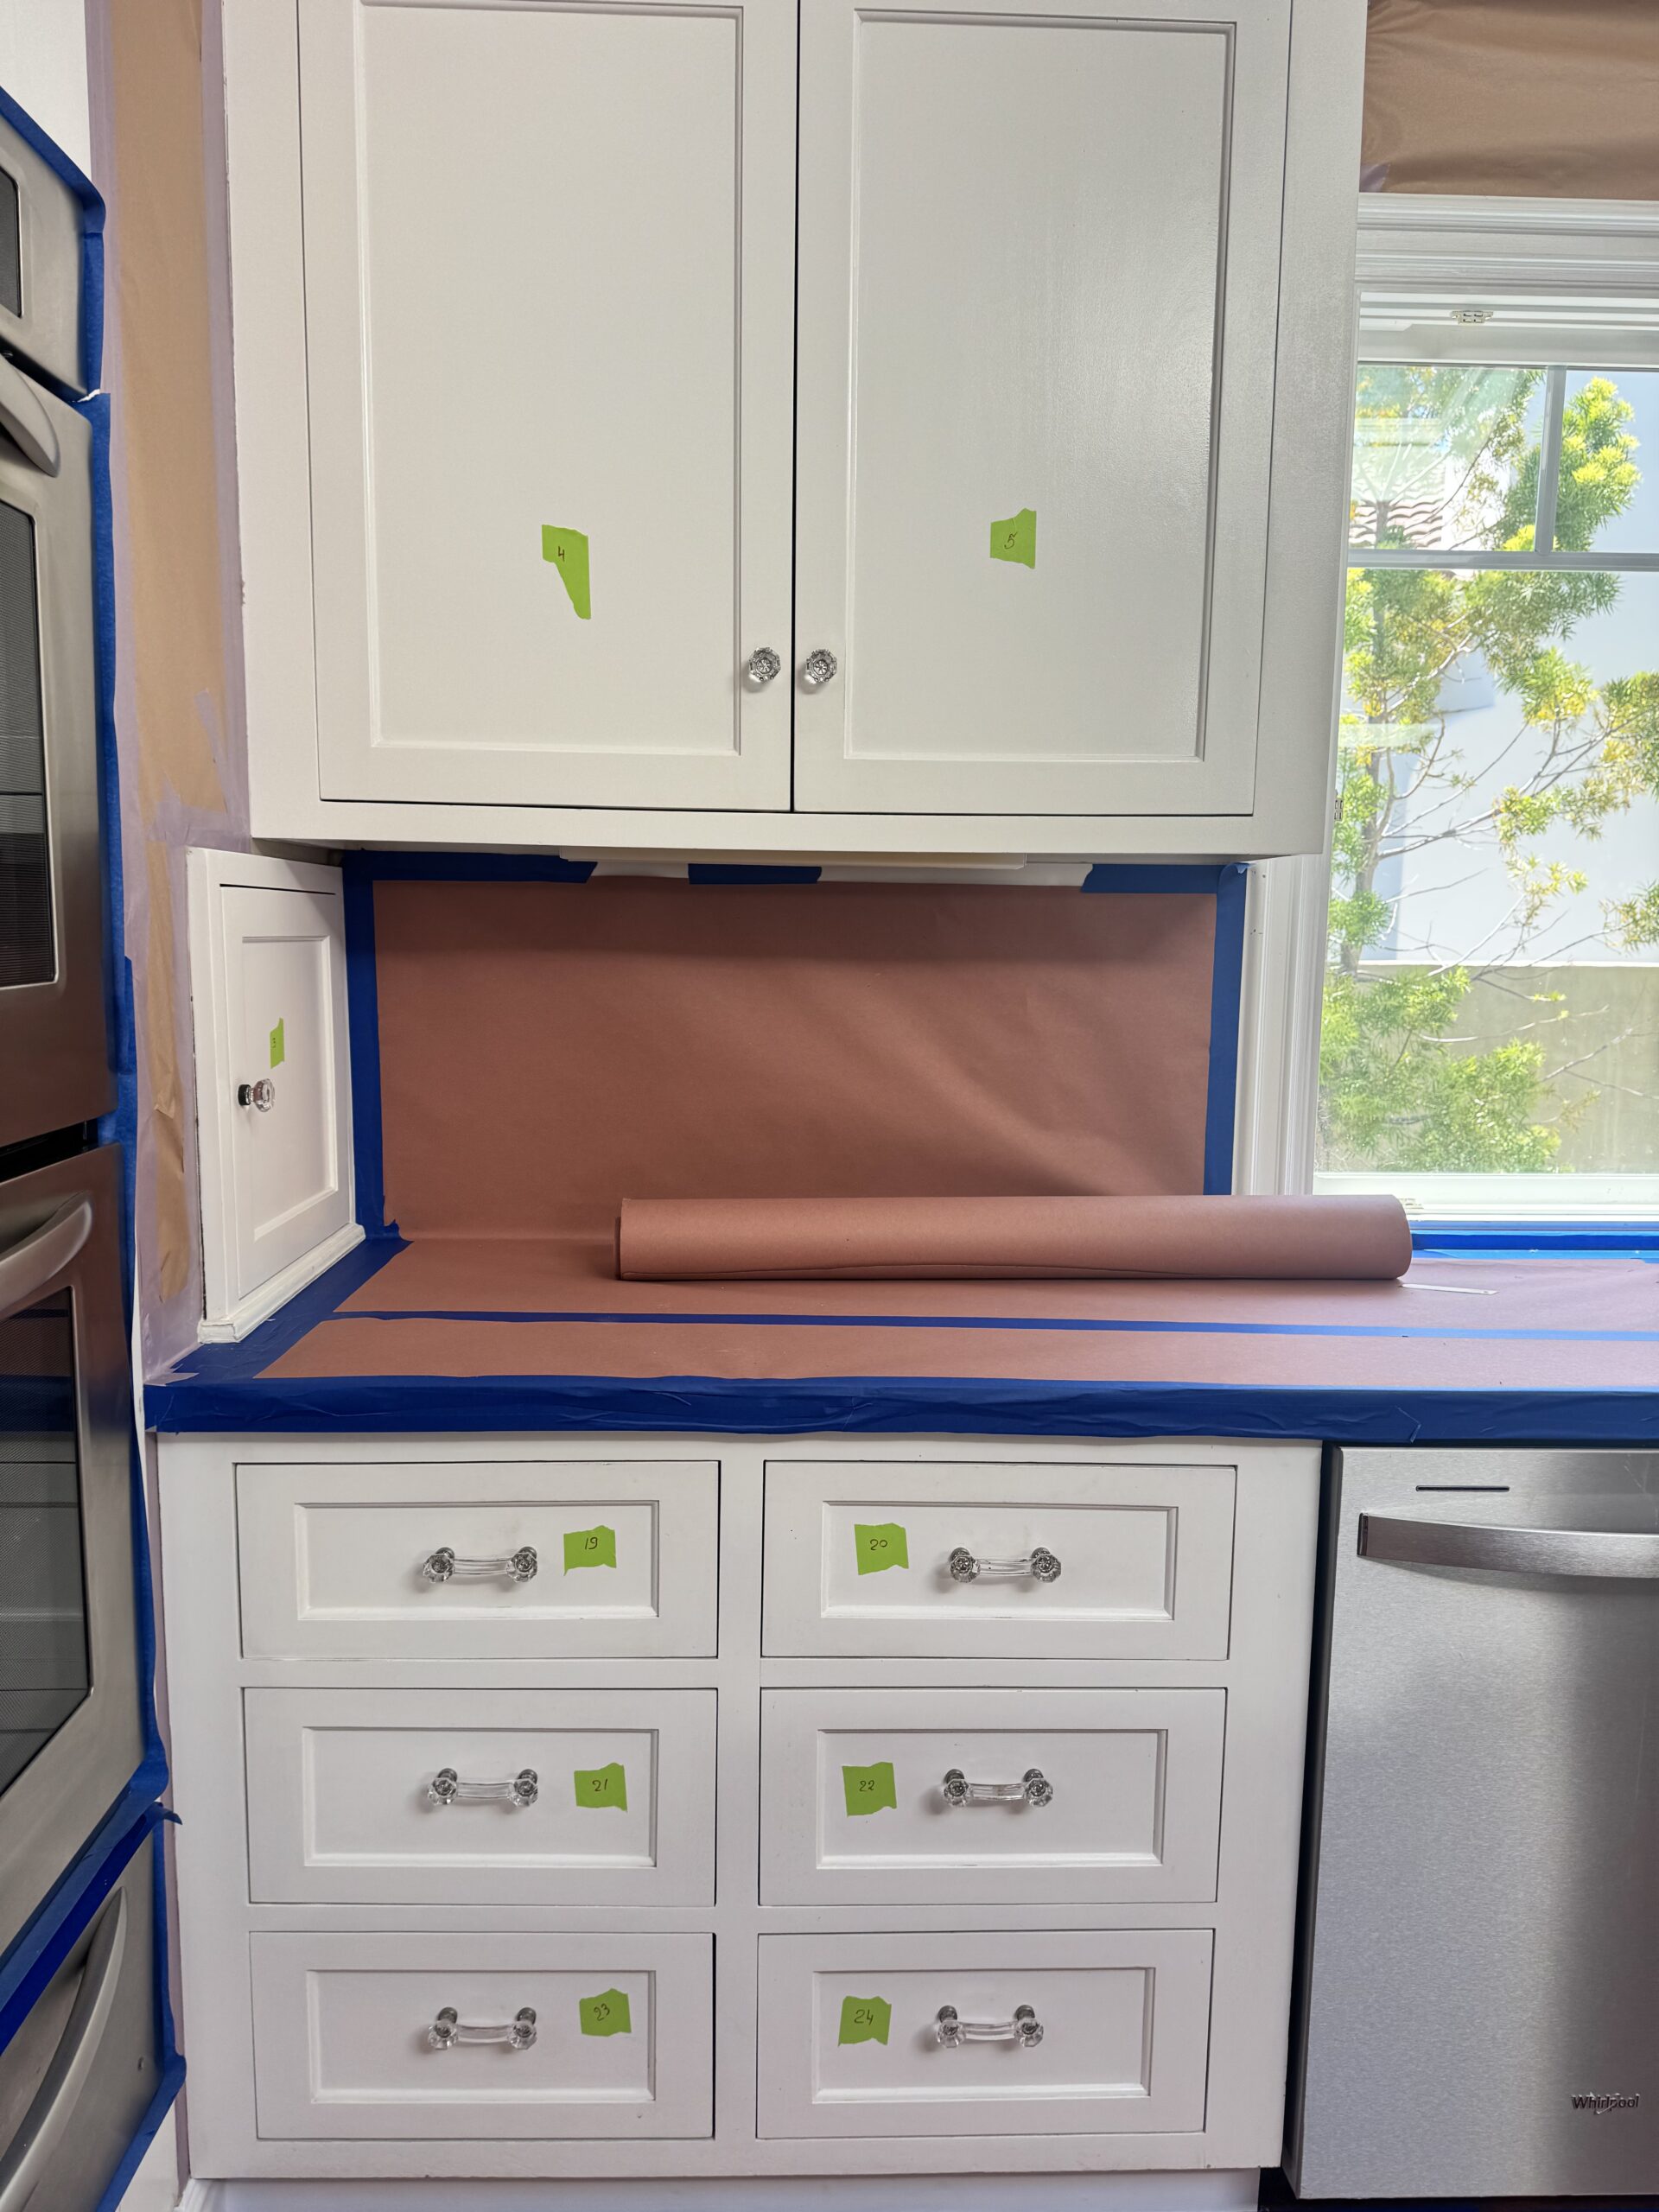
The cabinet frames, doors, and drawer fronts were thoroughly cleaned and degreased. Chips, holes, and worn areas were repaired with a two-part compound. Every surface was then sanded smooth and inspected under strong directional light.

Kitchen cabinets naturally collect grease, oils, and residue. If these remain on the surface, even a high-quality coating may not bond correctly.
Our team thoroughly cleans the cabinetry, repairs minor imperfections, and prepares the existing finish according to its condition. This creates a clean, dry, and stable base for the primer and finish coats.
We sprayed two thin coats of B-I-N Shellac-Based Primer with an HVLP turbine. After curing, the primer was sanded with 400-grit paper, vacuumed, and cleaned. The frames then received two coats of Sherwin-Williams Gallery Series in a satin finish.
Each door and drawer front was prepared, primed, sanded, and sprayed horizontally on both sides. After drying, every piece was inspected for smoothness, even color, and consistent sheen. The kitchen was then reassembled, aligned, and completed with new black hardware.

Tell us about your kitchen, and we’ll help you choose the right refinishing system.